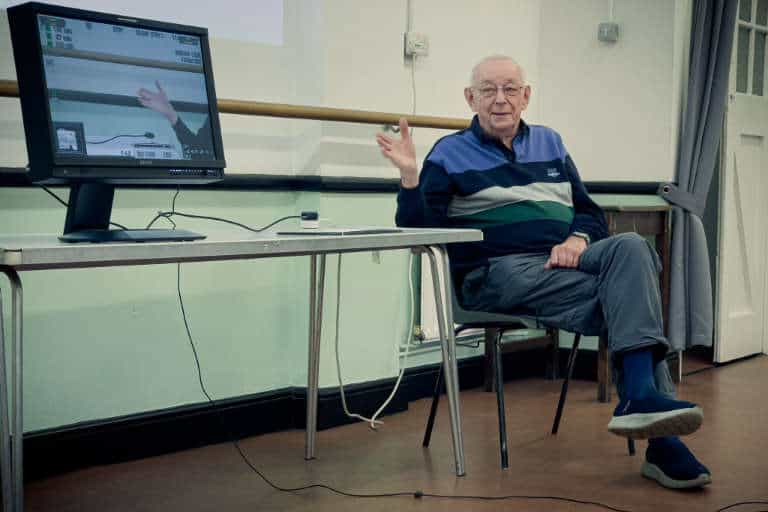
Exposure and Colour with Peter Leverick
Contents
At a recent Sutton Filmmakers club night on Tuesday 3 May 2025, club chairman Peter Leverick delivered a thoughtful and technically rich session on two crucial aspects of cinematography: Getting exposure and colour right in camera.
Drawing on his decades of experience, including credits as a senior camera operator on Only Fools and Horses and Grange Hill, Peter guided members through the principles and practicalities of getting footage right in camera.
While the subject matter leaned into the technical, Peter’s tone was warm, patient and accessible throughout, making the information digestible even for those newer to the concepts. His clear explanations helped demystify the tools and terminology that underpin professional video capture.

White Balance: Presets, Custom Settings and Consistency
Peter opened with a discussion on white balance, a fundamental step in ensuring accurate colour. Presets, while convenient, can be unreliable across different camera models and brands, especially in multicam setups. Peter advised that filmmakers:
- Set a custom white balance whenever lighting conditions, camera positions or lenses change
- Avoid trusting their eye when using multiple monitors or viewfinders, since these may not be calibrated consistently
Accurate white balance in-camera offers more dependable results than trying to fix colour inconsistencies in post, particularly when multiple sources of footage must match seamlessly. The gold standard is to get it right in camera in the first the first place.
Understanding Exposure: Tools and Techniques
The session then moved into the many facets of exposure, beginning with the different types of meters available:
- Reflective meters, built into cameras, measure light bouncing off subjects
- Incident meters measure the light falling onto a subject, offering more control when ensuring lighting stays within a camera’s dynamic range
- Waveforms and histograms provide visual feedback on light distribution
- False colour overlays offer a quick way to visualise brightness levels directly on the image
Peter gave a clear breakdown of waveforms and histograms:
- Waveforms display image brightness from left to right along the x-axis and intensity on the y-axis. A value of 0 corresponds to crushed blacks, while 100 is a blown-out white
- Histograms chart the number of pixels at each brightness level, providing an overall picture of exposure across the frame
For practical exposure, he offered these rules of thumb:
- Set caucasian skin tones to 45-50 percent on a waveform monitor
- When using zebra stripes set to 70 percent, adjust exposure until you see a subtle pattern on specular skin highlights
- Above all: “If it looks right, it is right”
The Exposure Triangle and Image Capture
Peter revisited the classic exposure triangle:
- ISO/gain determines the camera’s sensitivity to light
- Shutter speed or shutter angle controls motion blur and light admission per frame
- Aperture or iris determines how much light enters the lens and depth of field
He explained how digital video is made up of frames, which in turn are made up of pixels, each recording colour and brightness values. In an 8-bit format, each colour channel is represented by a value from 0 to 255. More bit depth allows for more nuanced colour and light representation.
Gamma Curves and Colour Space
Peter touched on gamma curves and how they influence light capture and display. Raw footage recorded with a gamma of 1.0 appears flat and lifeless, but this linear data preserves detail for grading. Most footage, however, is recorded with non-linear gamma curves such as 1.8, 2.2 or 2.4. These allow more information to be captured in the shadows and highlights, similar to how the human eye perceives contrast.
Gamma curves act as visual representations of LUTs (look-up tables) and can significantly influence the mood and fidelity of an image. For deliverables, Peter recommended:
- BT709 for television and online video platforms like YouTube
- Cinema Gamut for theatrical or festival projection
He also reminded attendees that 18 percent grey, the standard middle grey in exposure tests, should appear as 24 percent on a waveform monitor.
Colour Checkers and Post-production
For those looking to ease their colour grading process, Peter advised the use of a colour checker. Recording a few frames of a colour chart before the clapper board, at least on the first take of each setup, provides a valuable reference for accurate colour correction later on.
A Well-Rounded Evening
The session was well received by Sutton Filmmakers members, most of whom are amateur filmmakers with varying levels of technical experience. As always, the evening offered a great balance of knowledge and community. There was time for questions and informal discussion throughout, making it a collaborative and enjoyable event.
Peter’s blend of expertise and patience made this a standout theory night in the club’s varied programme of events. For those keen to deepen their technical skills and strengthen their understanding of digital video production, this was an invaluable session.
As someone who attends all of the club’s theory and practical nights, I can confidently say that sessions like these are a must for anyone looking to take their filmmaking to the next level.
